01 / What was missing
Sometimes everything is right—except the finish.
On an earlier custom-cap development project, the buyer was pleased with the silhouette, colour choices and embroidery. What they wanted us to revisit was the surface of the cotton.
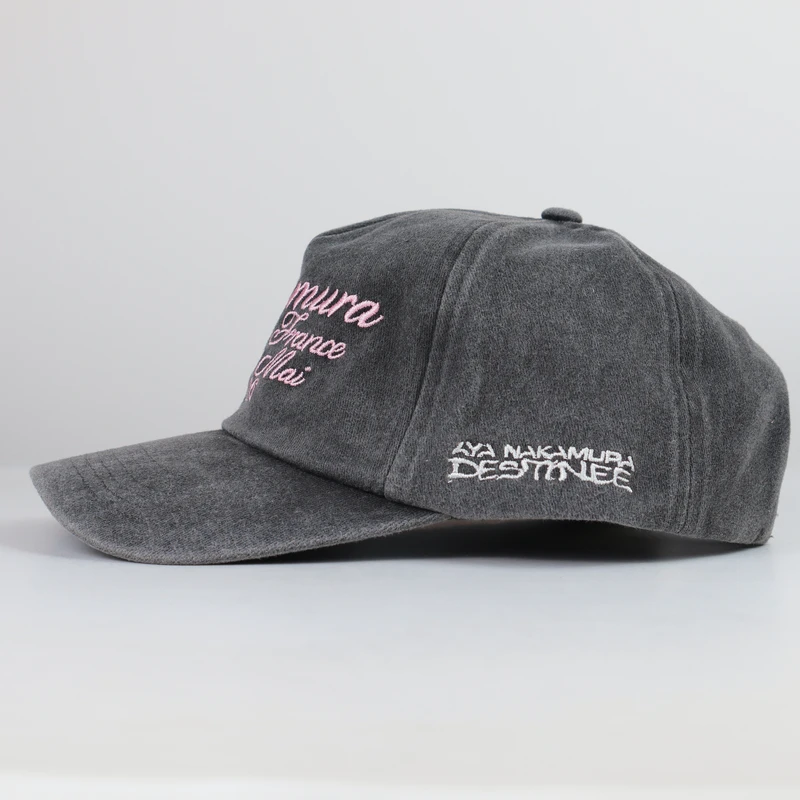
The original references had a gentle, worn-in appearance: a little fading across the crown, more texture near the seams, and no heavy tears or exaggerated distressing. The first sample used cotton fabric that had already been washed before cutting and sewing. It looked tidy, but the finished hat did not give the buyer the vintage character they expected.
Rather than adjusting the embroidery again, we revisited the material and finishing route. We moved to a cotton option suited to washing after the cap was made. That later garment-washed finish gave a more convincing worn-in look, which the customer preferred.
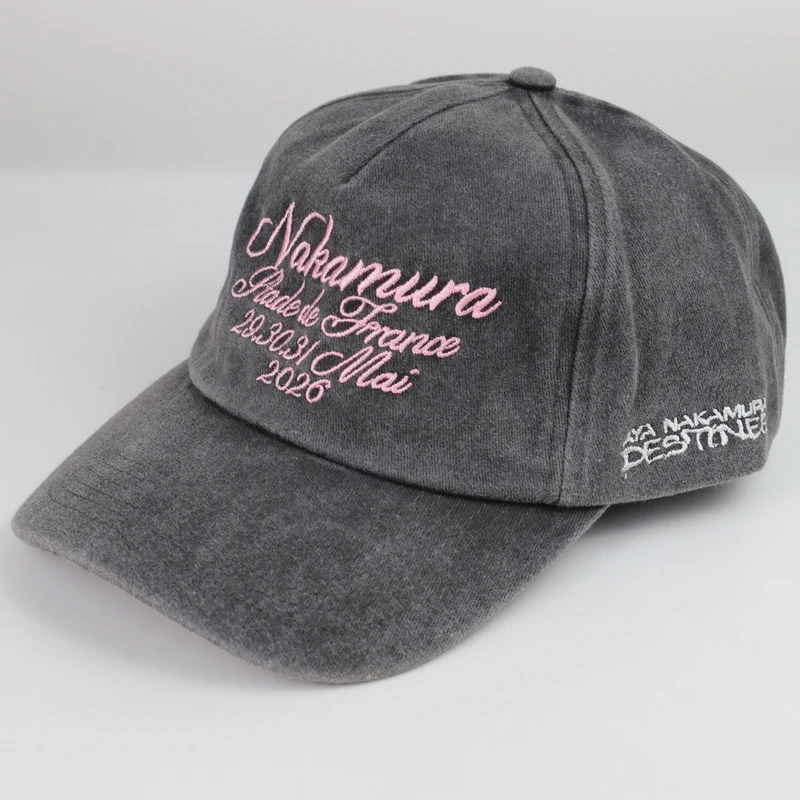
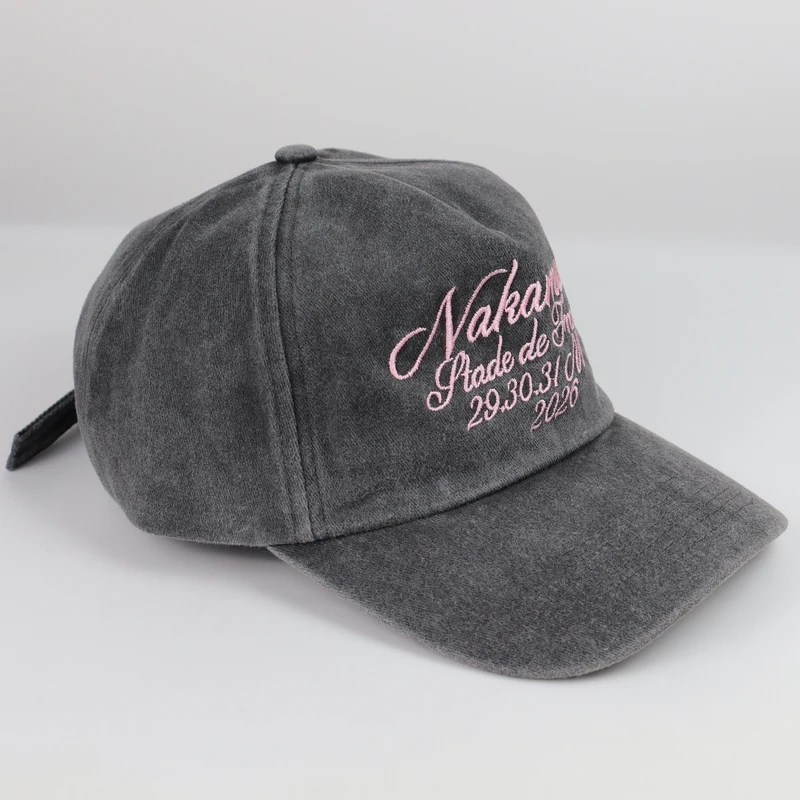
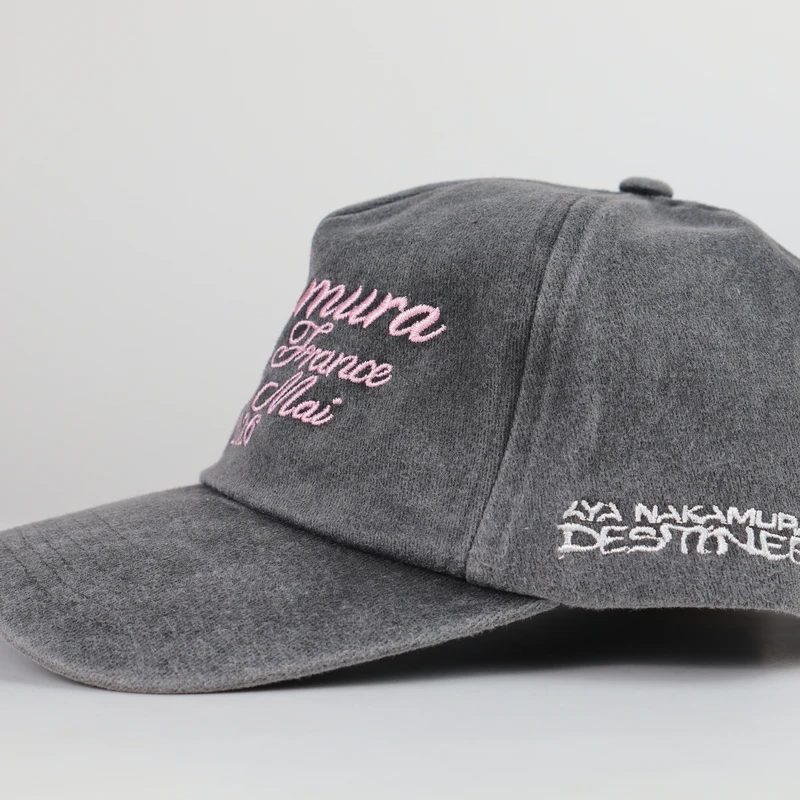
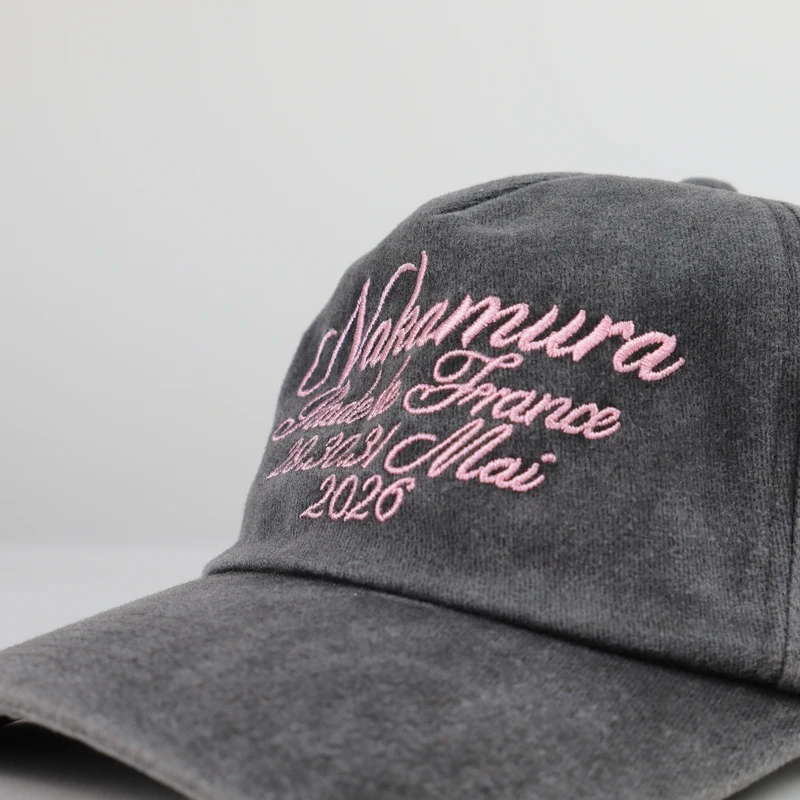
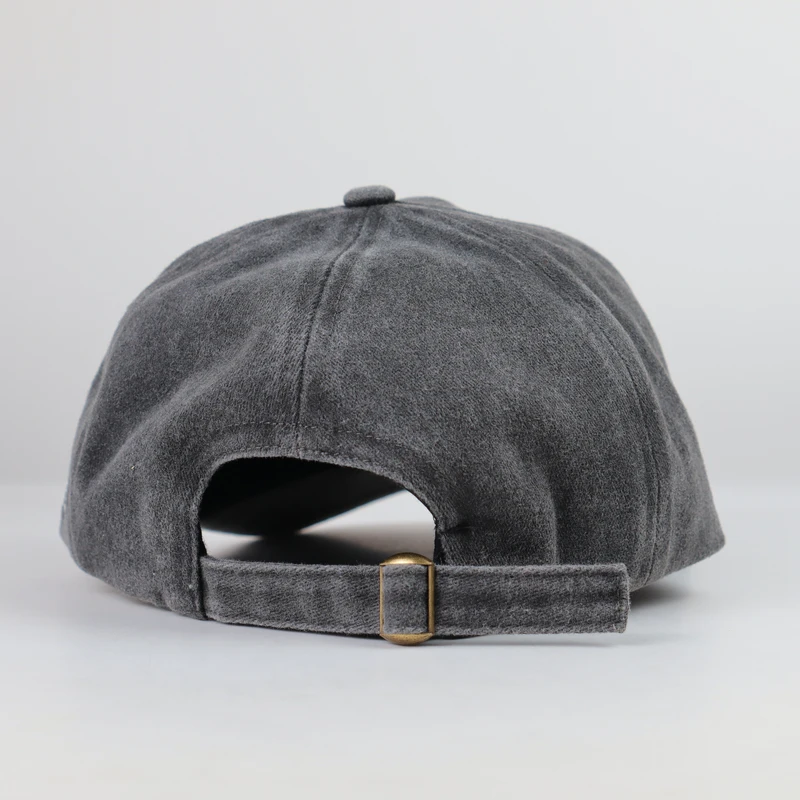
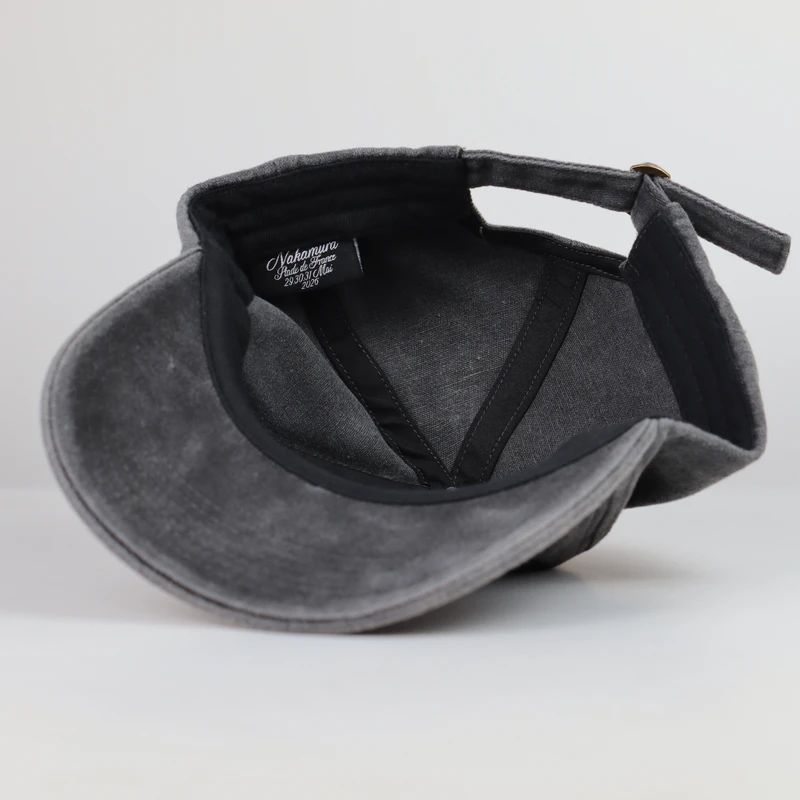
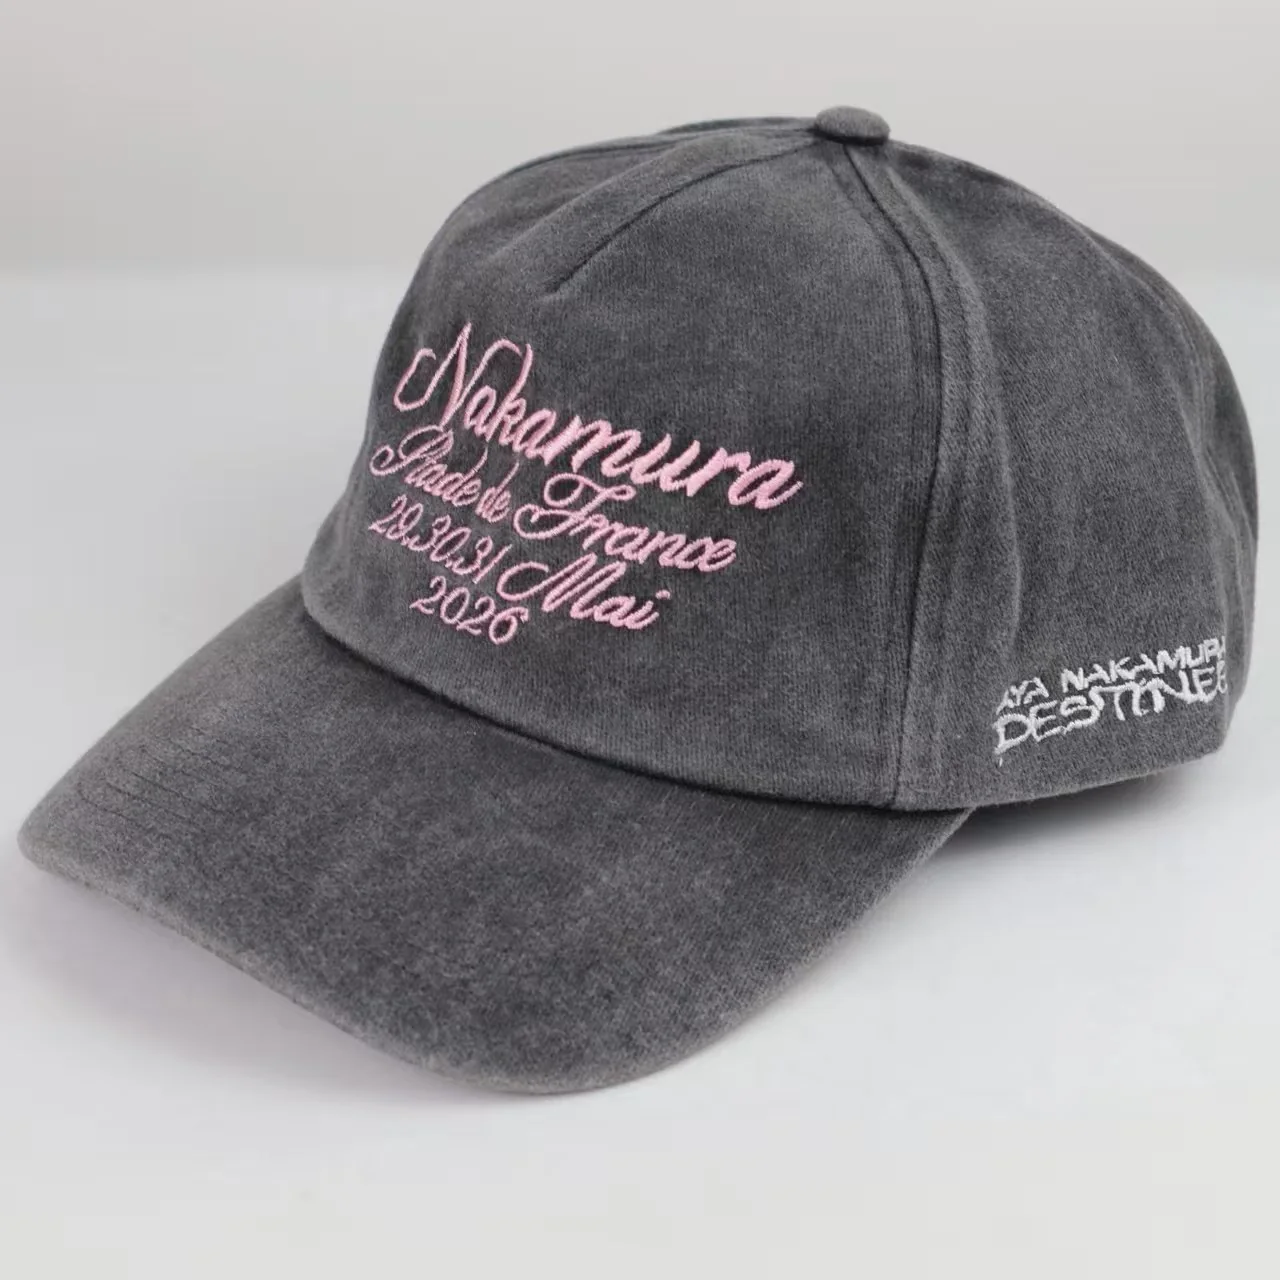
This manufacturing note draws on anonymised customer feedback and customer-approved photographs. The photographed grey cap documents the finished-cap washing approach; it is not presented as the exact hat from the earlier three-colour buyer conversation.
02 / A change in process
Prewashed cotton and garment-washed caps are not the same thing.
When a supplier says “washed cotton”, it is worth asking when the washing happens. The answer affects the finish a buyer sees in the completed hat.
Wash the fabric. Then sew.
The fabric carries its washed appearance into production. In this project, that did not create enough of the subtle, uneven character the buyer wanted around the finished cap.
Sew the cap. Then wash.
We changed to a suitable cotton and washed the constructed cap. The result had a softer, naturally varied surface and was closer to the requested vintage reference.
The second approach is not automatically the better choice for every design. Different fabrics, dyes, washing methods and constructions respond differently. We check the actual cap—not just an unsewn fabric piece—before treating the result as an approved standard.
03 / Fabric and colour
A shade card is the starting point, not the finished colour.
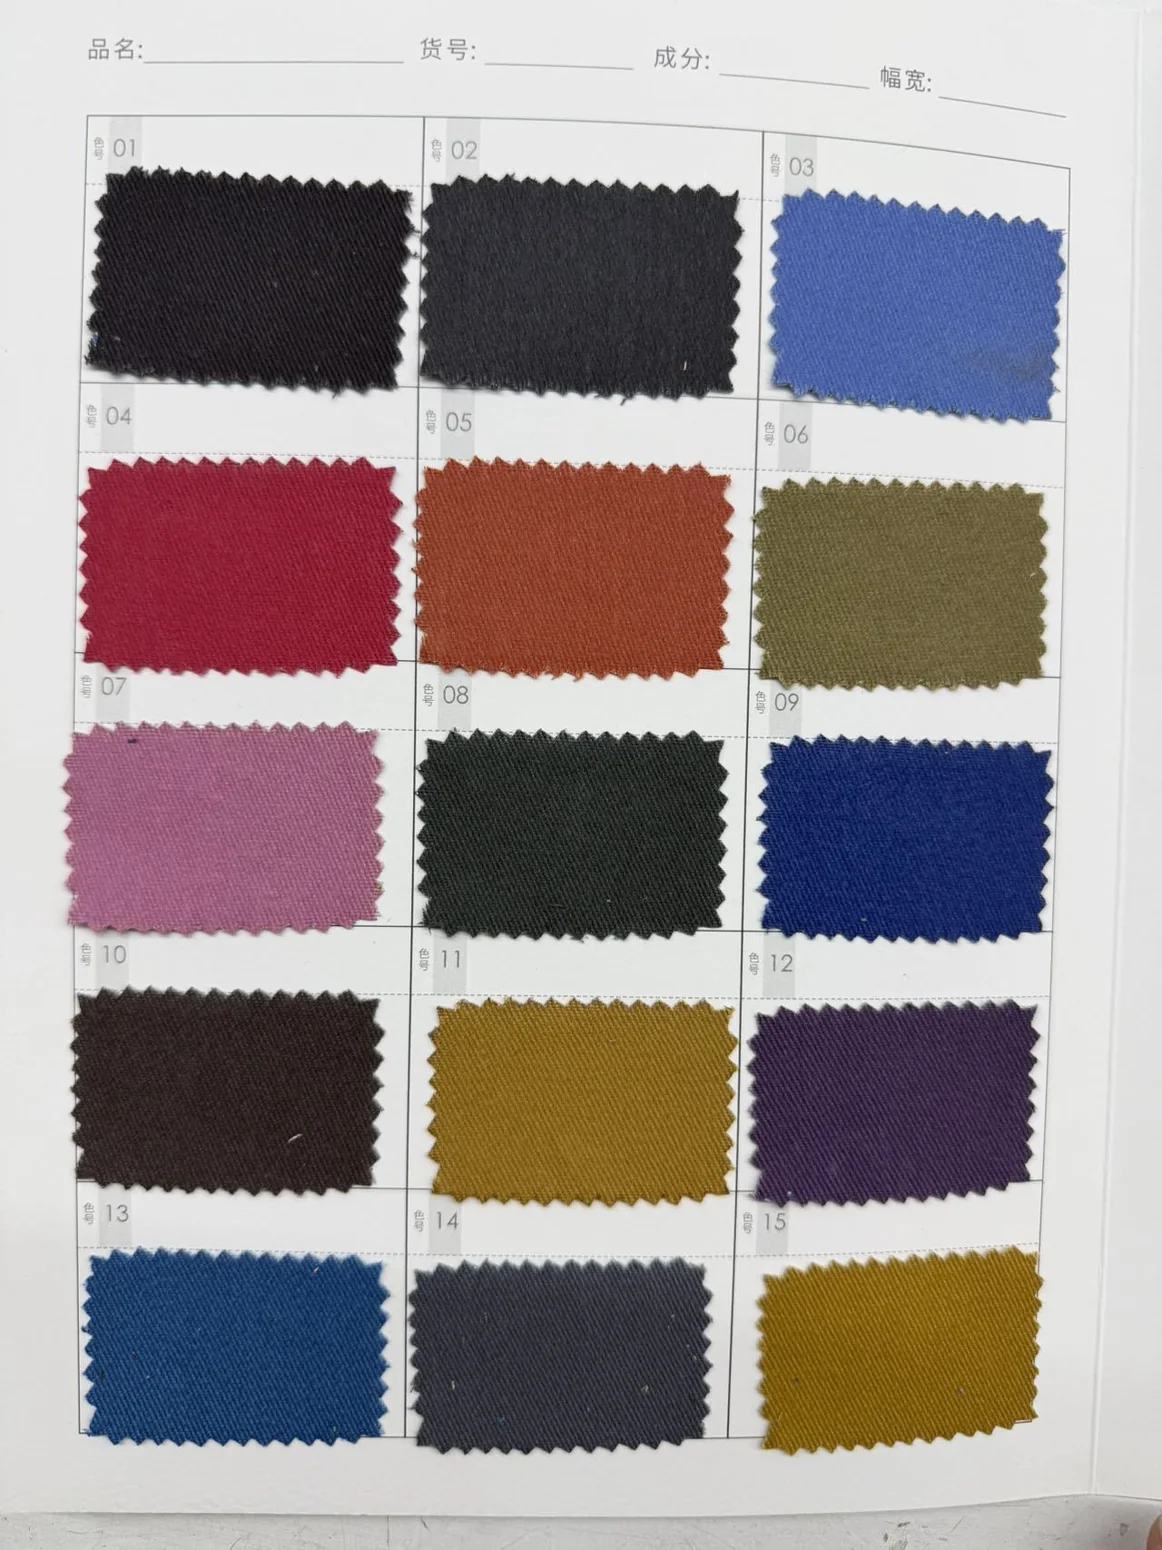
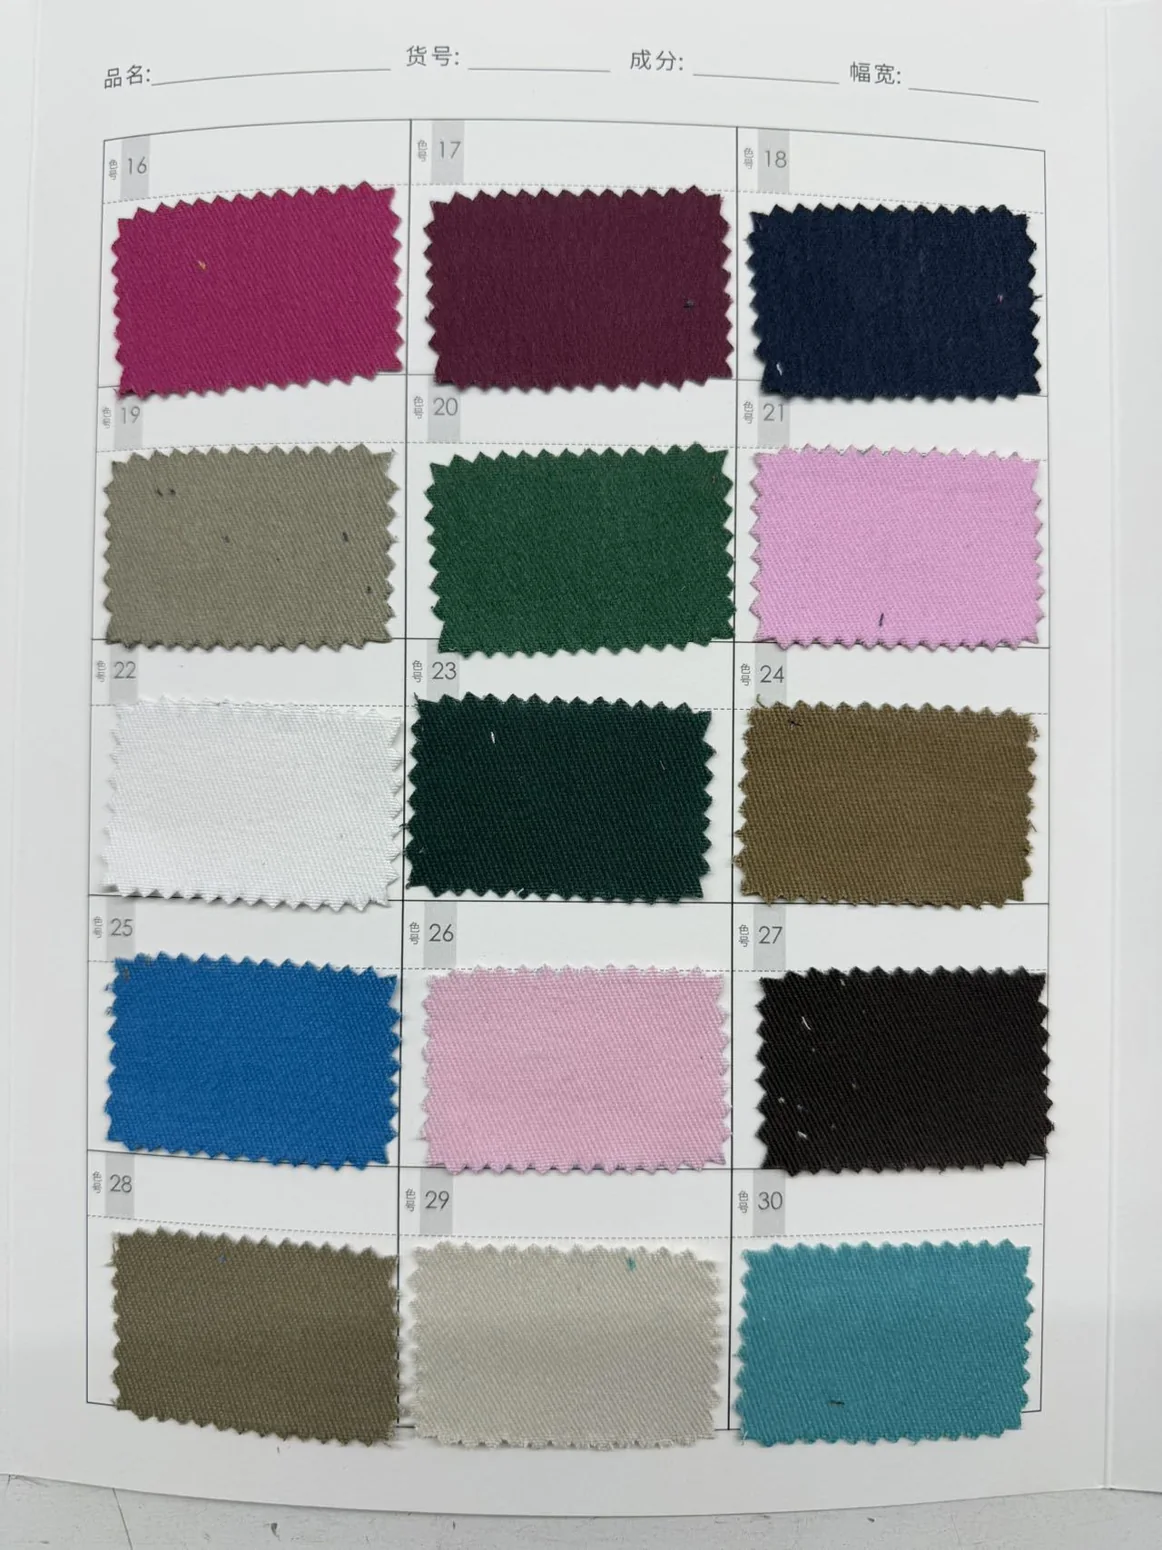
A buyer may choose a red or grey from a swatch card and expect the cap to look exactly the same once it is sewn and washed. In practice, the fabric's starting shade and the final washed shade are two different approval points.
For vintage-washed work, we prefer to compare physical samples rather than rely on a phone photo of a swatch. We look at the overall shade in daylight, the faded areas near seams and panels, and how the colour sits next to the embroidery thread. A subtle washed finish should still feel intentional—not simply uneven or over-processed.
These original cotton shade cards illustrate the starting point of material selection. They show the colours available at the selection stage, not a promise that every code will have an identical appearance after garment washing.
04 / Before a larger order
What we would lock down in the approved sample.
Getting one sample to look right is only half the job. For repeat orders, the important thing is agreeing on exactly what “right” means.
- 01The washed colour and overall characterApprove a finished cap in each planned colour, not only a piece of fabric or a digital mockup.
- 02The crown, curved brim and size after washingCheck the whole silhouette. Washing can affect how a fabric sits around the seams and brim.
- 03Embroidery, placement and thread colourConfirm the lettering and spacing on the completed sample. Washing and embroidery sequencing must be validated for the chosen construction.
- 04A reference for repeat productionKeep the approved sample, the material selection and the agreed visual finish together when planning the next batch.
When seasonal collections reuse the same cap in different colours or with new artwork, this reference becomes more useful than any general promise that the wash will “look vintage”.